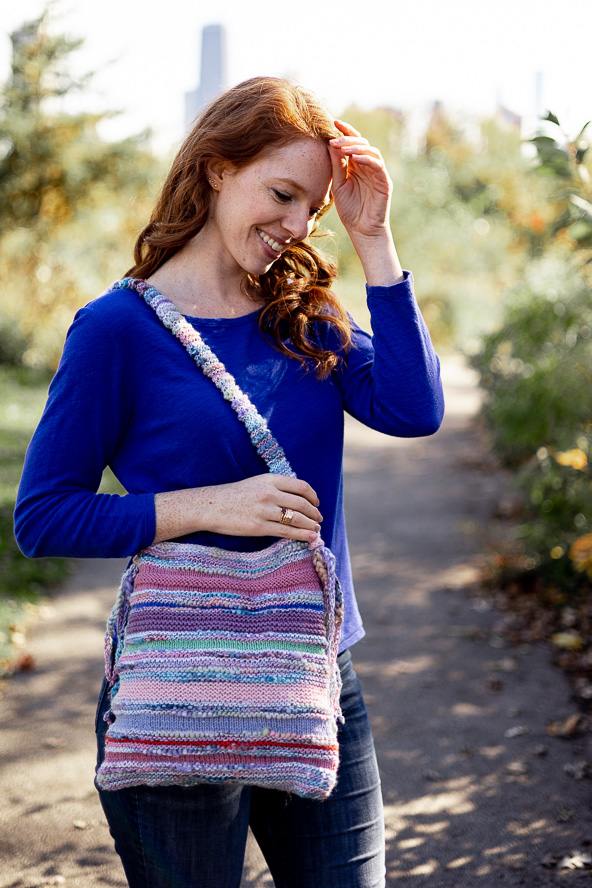
Beautiful variegated hues pop up throughout the textured thick-and-thin yarn stripes featured in this bag. Spaced apart with alternating bands of solid colors, this bottom-up stitched bag features a unique tassel look and is created with a knit cast-on technique while an I-cord finishes the decorative tassels and binds off the bag’s top edge.
Time: Weekend Project
Skill Level: Easy
Size: 11 ½” W x 12 1/2” H, excluding handles
Gauge: (Gauges are approximate)
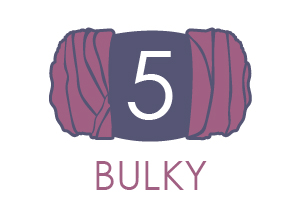
With bulky yarn: 18 sts 40 rows = 4: [10 cm] in garter
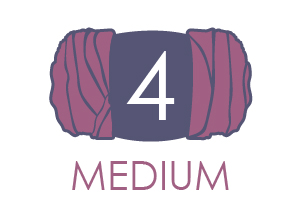
With WW yarn: 18 sts and 32 rows = 4” [10 cm] in stockinette st
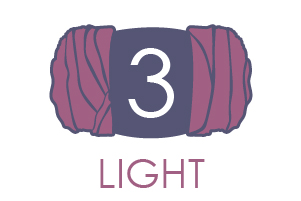
With DK yarn: 19 sts and 48 rows = 4” [10 cm] in garter
Materials
 Universal Bamboo Bloom Handpaints™ (bamboo, wool, acyrlic; 154 yards [140 meters]/100 grams): #304 Reflecting Pool (MC, 2 skeins)

Universal Deluxe Worsted Superwash (100% wool; 218 yards [200 meters]/100 grams): #759 Berry Crush (CC1, 1 ball), #741 Heather (CC6, 1 ball), #719 Purplish Blue (CC7, 1 ball)

Universal Deluxe DK™ Superwash (100% wool; 284 yards [259 meters]/100 grams):
#802 Autumn Orange (CC2, 1 ball), #818 Dusty Blue (CC3, 1 ball), #824 Starfish (CC4, 1 ball), #813 Honeydew (CC5, 1 ball)
Needles: US size 7 (4.5 mm) 10” straight
Notions: 24” W x 12 1/2” H rectangle white felt, tapestry needle, white sewing thread, hand sewing needle or (optional) sewing machine, blocking supplies
Special Stitches
Knit 2 together through the back loop (k2 tog tbl)
Insert RH needle through the back loop of next 2 sts on LH needle and knit together (1 st decreased)
Knitted Cast-on
Step 1: Knit a stitch as normal, but DO NOT slip stitch from left needle.
Step 2: Place the newly formed stitch on left needle without twisting it.
Repeat Steps 1-2 until you have the desired number of stitches.
Pattern Notes
Wind main color (MC) yarn skein into center pull ball. Alternately use center pull & outside strand ends where noted in pattern.
Beginning and ending tails of yarn colors are used to sew side seam.
This pattern is worked in the flat from the bottom up.
Pattern
Row 1(RS): Note: Throughout pattern, leave a 9” beg and ending tail (see Pattern Notes) for each color change) Using center pull end of MC (see Pattern Notes) and a knitted cast on, CO 106 sts.
Rows 2-12: K.
Row 13: With CC1, k.
Row 14: P.
Rows 15-16: Rep rows 13-14 once.
Row 17: Using outside strand of MC, k.
Rows 18-20: K.
Row 21: With CC2, k.
Row 22: K.
Row 23: Using center pull end of MC, k.
Rows 24-26: K.
Row 27: With CC3, k.
Row 28: P.
Rows 29-32: Rep last 2 rows twice.
Row 33: Using outside end of MC, k.
Rows 34-38: K.
Row 39: With CC4, k.
Rows 40-48: K.
Row 49: Using center pull end of MC, k.
Rows 50-62: K.
Row 63: With CC5, k.
Row 64: P.
Rows 65-66: Rep last 2 rows once.
Row 67: Using outside end of MC, k.
Rows 68-70: K.
Row 71: With CC6, k.
Rows 72-75: K.
Row 76: P.
Rows 77- 80: K.
Row 81: With center pull end of MC, k.
Row 82: K.
Row 83: With CC7, k.
Row 84: P.
Row 85: With outside end of MC, k.
Rows 86-90: K.
Row 91: With CC1, K.
Row 92: P.
Rows 93-94: Rep last 2 rows, once.
Row 95: P.
Row 96: K.
Rows 97-98: Rep last 2 rows once.
Rows 99-102: Rep rows 91-92 twice.
Row 103: With center pull end of MC, k.
Rows 104-112: K 9 rows, use a looser tension on row 112.
Row 113 (I-Cord Bind Off): Working with MC and CC4 tog as one strand, using a backwards loop cast on, CO 3 sts at beg of row, *k2, k2 tog tbl (see Special Stitches), ret sts to LH needle, rep from * across until 3 sts rem on LH needle, cut yarn leaving a 9-inch tail. Thread tail through tapestry needle, insert needle from right to left through sts on LH needle, remove sts from LH needle and pull yarn tightly to secure.
Handle I-cord Rings
Make 2
With CC4, CO 4 sts.
Row 1: K across, do not turn, ret sts to LH needle.
Next Rows: Rep Row 1 until piece measures 1.5 inches, cut yarn leaving a 9-inch tail. Thread tail through tapestry needle, insert needle from right to left through last row of sts on LH needle. Rem sts from LH needle and pull tightly to close end of I-cord.
Tassel Chain
Make 6
Row 1: With MC, using a knitted cast-on (see Special Stitches), CO 85 sts, cut yarn leaving a 9-inch tail. Thread tail through tapestry needle, insert needle through last st made. Rem sts from needle and gently pull to form chain.
Handle
Row 1: CO 12, k across.
Next rows: K all rows until piece slightly stretched measures 28” long.
BO knit wise.
With handle on a flat surface, fold side edges to center, use 1 strand CC4 and tapestry needle to join edges with mattress stitch to create center back seam.
Finishing
Block bag to 24 inches W x 12.5” H and handle to 1.25” W x 28” L and allow pieces to dry.
Fold short ends of bag WS together and use tapestry needle and yarn tails at ends of stripes using a whip stitch to sew short edges of bag together to create side seam. Use MC and whip stitch to sew CO edge of bag together to create bottom seam. Turn bag RS out.
Use CC4 and tapestry needle to sew one end of handle centered over side seam on WS of bag and opposite end of handle centered at fold on opposite side.
Fold short ends of felt rectangle RS together to form lining. Use hand sewing needle and white thread or sewing machine to sew a seam across short ends (side seam of bag lining) and bottom edge with a 0.5-inch seam allowance. Do not turn lining RS out. Insert WS of lining into inside of bag having WS together and use white thread and sewing needle to stitch top edge of lining to WS of bag just under I-cord bind off at top edge.
With bag side edge RS facing, place center of 3 tassel chains around center back seam of handle, bring ends forward to RS of bag. Wrap one Handle I-cord Ring around tassel chains approximately 1.5” from top edge of bag and use yarn tails to sew ends of Ring together to create center back seam. Turn ring until center back seam faces RS of bag and use yarn tails to tack ring to bag.


I know this says beginner, but I am so confused… I have you thought of doing a video for this one? Would be so very helpful
Hello! We do not have a video at this time, but we will keep it in mind! Please let me know if you have a specific question regarding this pattern and I can reach out to the designer for advice, thanks! – Nicola, Editor