I always dreaded working on projects such as socks, gloves, doilies or any other project where I had to work in the round on double pointed needles. Most of the time, I would lose a needle or stitches would drop from the other end. Using one circular needle was not an option as the cord
I always dreaded working on projects such as socks, gloves, doilies or any other project where I had to work in the round on double pointed needles. Most of the time, I would lose a needle or stitches would drop from the other end. Using one circular needle was not an option as the cord cannot accommodate a small number of stitches. Finally, I heard about using two circular needles instead of double points. Why didn’t I think of that before? When I figured out how to use them, there was no turning back.
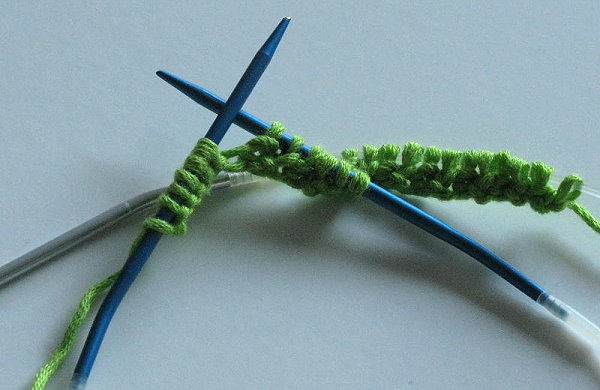
When working with two circular needles, you need two of the same size circular needles in two different colors. If you are working on a small project such as socks or gloves, it is better to use short circulars such as 16″ long needles. For the photos for this article, I have used one blue circular needle and one white.
First let me share a little trick when working on projects in round: usually, the instructions say to cast on stitches, join them and be sure not to twist. Well, it’s hard to make sure stitches are not twisted. An easy way to work around this and figure it out is to work the first row, then join at the second round. This way, you have a little width that will help visually in making sure the work is not twisted.
Cast on the required number of stitches on one of the needles. I used the blue needle to cast on.
Using the second needle, work half of the stitches.
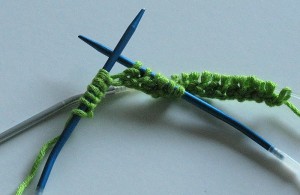
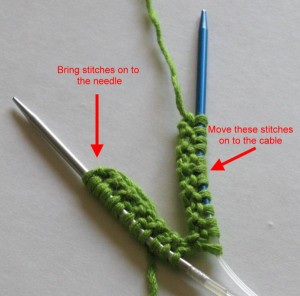
Move the stitches that are worked with the white circular needle to the cable section. With the other end of the first needle (blue), work the rest of the stitches.
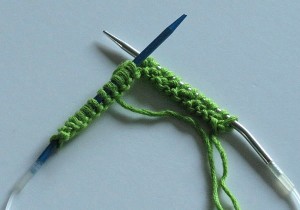
To make the ring, move the stitches on the first needle to the cable section. Move the stitches of the second needle that were in the cable section on to the needle.
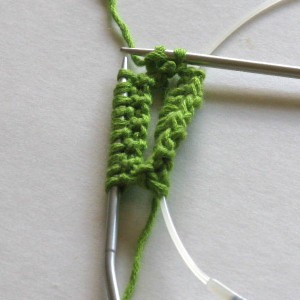
Bring the end of yarn and, using the other end of the same needle, start working the stitches.
Always make sure to use the end of the same needle to work the stitches of that needle. Therefore, the stitches will always stay on the same circular all the time.
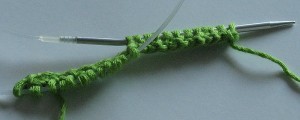
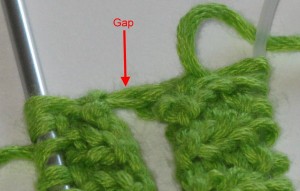
When you are done working on the stitches of that needle, move all the stitches to the cable section. Bring the stitches of the other cable to the needle section and work the stitches. Continue to work one needle at a time until you have the required length. When you switch from one needle to the other you may notice a gap between stitches.
To solve the problem, give the last stitch of the previous needle a little tug then work the first stitch of the new needle so there would be no gap between the stitches of two needles.
You can work all patterns that are written for double pointed needles on two circulars. If the pattern is written for 4 double pointed needles, simply place stitches what’s needed for 2 needles onto one circular needle, separating them with a marker and work the stitches for the third needle on the second circular needle. For projects that are worked on 5 double pointed needles, place half of the stitches on one needle and the other half on the second needle, separating the stitches for each double point with a marker.
Think you have the hang of this technique? Practice using circular needles on the XXX pattern on the next page!


Thanks for the hint on using 2 circular for knitting in the round.