How the stitches are worked are slightly different depending on whether you knit with the yarn held in your right hand or in your left, so in this tutorial I’ll be showing you both. First we’ll go over the directions in Rib Round 1, the slyo and the bp, then the directions for Rib Round
How the stitches are worked are slightly different depending on whether you knit with the yarn held in your right hand or in your left, so in this tutorial I’ll be showing you both. First we’ll go over the directions in Rib Round 1, the slyo and the bp, then the directions for Rib Round 2, bk and slyo. Like with learning anything new give yourself time to learn and make mistakes. It’ll get easier and faster with practice!
Round 1: Slyo, bp
In Round one the slyo (slip and yarn over) is worked over a knit stitch. In this round you’ll always slip the knit stitches, placing a yarn over on top of them, and purl the purl stitches together with their corresponding yarn overs.
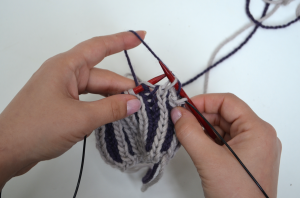
With yarn in left hand, bring the working yarn to the front, slip the knit stitch purl-wise, then bring the yarn over the right hand needle.
Knit the purl switch together with the corresponding yo.
With yarn in right hand:
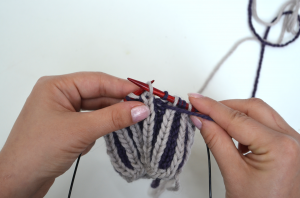 Bring yarn to the front, and slip the next stitch purl-wise.
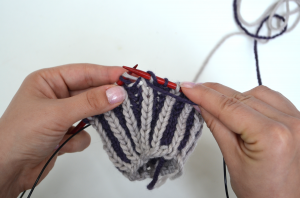 After slipping the stitch bring your yarn to the front, completing the yarn over.
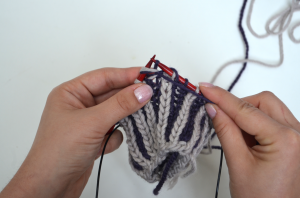 Purl the next purl stitch together with the corresponding yo.
Round 2: Bk, slyo
Although this round starts with a bk, then the slyo, we’ll be going over them with the slyo first, as there’s a short cut here!
With yarn in left hand:
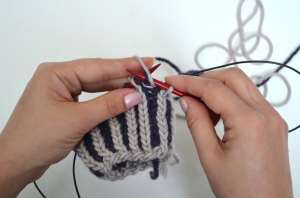 Bring your yarn to the front, then slip the purl stitch, bringing the working yarn to the back of the needle again.
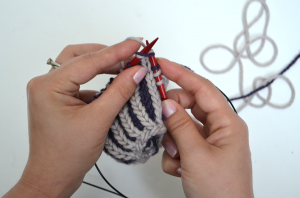 Since your yarn is already at the back, you now just knit the next stitch together with its corresponding yo.
With yarn in right hand:
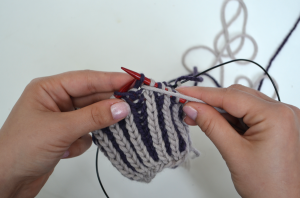 Bring your yarn to the front, then slip the purl stitch.
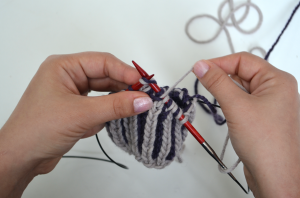 Knit the next stitch together with its corresponding yarn over. This will complete the yo on the slipped stitch too!
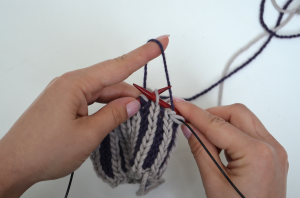
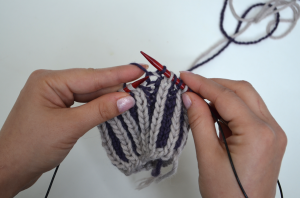
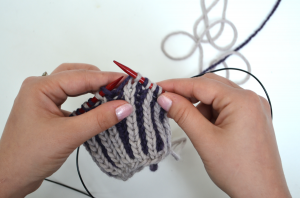
Whether you’re holding your yarn in your left or right hand this is what round 2 should look like.
You’ll notice that the stitch and the corresponding yarn over are never the same color. You should always be working a yarn over together with a stitch of the opposite color. The only exception to this is in the setup round, where both your slip stitches and your yarn overs are both in the main color. Now that you’ve learned the basics of the brioche method, try your hand at the Breezy Brioche Cowl!


Can’t wait to try this!
I’ve been doing the Brioche for years & even taken a Lace Brioche class with Nancy Marchant. These above instructions are easy to understand & anyone wanting to try doing the Brioche stitch for the first time would find it easy to follow.